
Ever logged into a course and found yourself staring down a dense slide deck?
Or sat in a class where the instructor drones on for an hour, and by the end, you’re left with little more than a vague memory of what was covered?
I know I’ve been there.
In fact, it’s something I hear often from our customers here at Arlo—training that’s heavy on content but light on engagement can quickly lead to disengaged learners, who don’t retain the key info they need to from a training session or course.
There are plenty of tweaks you can make to training courses to make them more engaging, and one that we always recommend is to use interactive training modules where you can.
Often these will make up part of a blended course, or a standalone self-paced elearning course, depending on the training you are running.
In this guide, we cover some steps you can take to frame your interactive training modules, and how you can use Arlo to create interactive training modules and courses in no time at all.
Let’s get started 👇
Start with Clear Learning Objectives
The first step is to make sure your crystal clear on the learning objectives you set for your learners. Here are a few tips on coming up effective LO’s:
Before you start writing, take some time to reflect on the following questions:
Impact: What tangible actions do you want participants to be able to perform back in their workplace or context as a direct result of this session? Think about the real-world application of their learning.
Gap Bridging: What specific knowledge or skills do your participants currently lack that this session aims to provide? How will this session help them move from their current understanding to the desired level?
Core Takeaways: If participants could only remember three crucial things from this session, what would they be? These should form the foundation of your most important objectives.
Take practical steps when you’re writing down your objectives:
Before you start writing, take some time to reflect on the following questions:
Impact: What tangible actions do you want participants to be able to perform back in their workplace or context as a direct result of this session? Think about the real-world application of their learning.
Gap Bridging: What specific knowledge or skills do your participants currently lack that this session aims to provide? How will this session help them move from their current understanding to the desired level?
Core Takeaways: If participants could only remember three crucial things from this session, what would they be? These should form the foundation of your most important objectives.
Actionable Steps for Writing Effective Learning Objectives:
Follow these steps to craft clear and measurable learning objectives:
Start with a Clear Stem: Begin each objective with the phrase: “After participating in this session, attendees should be able to . . . .” This immediately focuses on the participant outcome.
Choose Action Verbs Carefully: Select verbs that clearly indicate the specific knowledge or skill participants will gain. These verbs should describe specific, measurable, and observable behaviors.
Focus on Outcomes, Not Activities: Ensure your objectives describe what participants will know or be able to do as a result of the session. Avoid listing activities or agenda items. For example, instead of “Participants should complete a case study,” focus on the outcome: “After participating in this session, attendees should be able to analyze a case study to identify key challenges.”
Review for Clarity and Measurability: After writing each objective, double-check that it is an actual outcome and that it clearly defines what participants will be able to do. Compare your objectives to the provided examples to ensure they are well-defined and avoid vague language.
For example, instead of “explain change management,” aim for something like “describe the key steps in a change management process.”
You can see an example template that you can use as a guide for this process, and a filled version below.
📝 Learning Objective Template Table
| Prompt | Your Response |
|---|---|
| After participating in this session, attendees should be able to… | |
| Action Verb (e.g., apply, design, analyze, evaluate) | |
| Specific Skill or Knowledge | |
| Context or Condition (optional – when, how, or where this will be used) | |
| Final Learning Objective (put it all together) |
✅ Example (for reference)
| Prompt | Example Response |
|---|---|
| After participating in this session, attendees should be able to… | |
| Action Verb | apply |
| Specific Skill or Knowledge | a feedback model for performance reviews |
| Context or Condition | during one-on-one meetings with direct reports |
| Final Learning Objective | After participating in this session, attendees should be able to apply a feedback model for performance reviews during one-on-one meetings with direct reports. |
Take the Time to Understand Your Target Audience and Learning Styles
Having established clear learning objectives, the next step is to take some time to understand who your learners are.
In our recently published Guide to Delivering Effective Instructor-Led Training expert trainer Tammy Banks, recommends taking the time to understand a learner’s background, motivations and learning styles in your training development process, and to consciously think how you can take this information to make your training interactive and engaging:
“What you really want to be thinking is ‘How can I make this learning engaging, so that it’s as easy as possible for people to retain essential knowledge and they are motivated to do so?
Here’s a run-down of some tips on how you can keep take these factors into consideration during your course creation process:
Understanding Learner Background and Prior Knowledge
Learners arrive with diverse experiences and varying levels of existing knowledge.
For example, a novice will require a different approach than someone with years of experience. Ignoring this can overwhelm beginners or bore more experienced participants.
You can try and gauge the levels of existing knowledge by asking the client or business you;re delivering training for to rate the existing knowledge levels on the topic at hand.
Impact on Interactive Elements
The level of knowledge your learners have about a topic can influence the interactive elements you’ll want to include, for example:
If your learners have lower prior knowledge: Consider foundational quizzes, drag-and-drop activities, or guided simulations.
If they have higher levels of prior knowledge: Opt for complex case studies, video examples, or more advanced application scenarios.
Understanding Learner Motivations
Knowing why your learners are taking the course is essential for engagement. For example, their reasons (mandatory training, career advancement, personal interest) can influence what interactive elements to use.
For example, using a step-by-step carousel showing potential career paths that may be accessible to learners after taking the training can be highly motivating.
For those undertaking required training, incorporating elements like Checklists to track their progress and completion, or short Quizzes after key modules to reinforce learning, can provide a sense of accomplishment and encourage active participation.
You could also use Flashcards to help them quickly recall essential information needed for compliance.
Understanding Preferred Learning Styles
Ideally, all of the training you run should be suitable to different learning styles. And you can use the different learning styles to map out which interactive elements you want to include in a course.
You can use a simple table to map this out, such as:
| Interactive Element | Learning Style(s) | Purpose | Notes |
|---|---|---|---|
| Images | Visual | Illustrate concepts, provide visual examples | Use high-quality, relevant images; keep them simple and uncluttered. |
| Video | Visual, Auditory | Explain complex topics, demonstrate processes | Keep videos concise; include captions for accessibility. |
| Slideshows | Visual, Reading/Writing | Present information in a structured format | Use minimal text; focus on key points; incorporate visuals. |
| Accordions | Visual, Reading/Writing | Organize information into expandable sections | Useful for FAQs, definitions, or breaking down complex topics. |
| Step by Step Carousels | Visual, Kinesthetic | Guide learners through sequential processes | Use clear visuals and concise text for each step. |
| Flashcards | Visual, Auditory, Reading/Writing | Aid memorization of key terms and concepts | Use clear and concise text; can include audio pronunciation. |
| Checklists | Visual, Kinesthetic, Reading/Writing | Track progress, reinforce learning objectives | Clearly define tasks and allow learners to mark completion. |
| Hotspots | Visual, Kinesthetic | Explore details within an image or diagram | Use clear cues for interactive areas; provide concise information on hover. |
| Quizzes | All | Assess understanding, reinforce learning | Use a variety of question types; provide immediate feedback. |
Choose the Right Tools and Platforms for Developing Training Modules
Once you’ve:
- Got your learning objectives
- Considered the existing knowledge of your learners
- Mapped out the types of interactive elements you’ll want to include
It’s time to create your interactive training modules.
There are several ways to do this:
- Custom development using code – Offers full flexibility and tailored functionality, but requires technical expertise and a larger investment of time and resources.
- Presentation tools with interactive add-ons – Tools like PowerPoint combined with plugins or external tools can work for simple interactivity, though they may fall short for complex or scalable training.
- Learning Management Systems (LMS) with built-in tools – Some LMS platforms provide basic interactivity features, but they can be limited in design flexibility and customization.
The most efficient, and cost effective way for most training businesses looking to create interactive training modules is to to use an elearning authoring tool.
Why is this? Because…
They’re designed for non-technical users, meaning instructional designers and subject matter experts can create content without needing to code.
They offer reusable templates and drag-and-drop interfaces, which speed up development and ensure consistency across modules.
They support multiple content formats, such as quizzes, simulations, videos, branching scenarios, and more—all in one place.
They integrate easily with most LMS platforms, simplifying deployment and tracking.
They’re scalable, allowing teams to update, repurpose, and localize training content quickly as needs evolve.
To show you how easy it can be, I’ll now walk you through how to create an interactive training module using Arlo:
When creating training modules in Arlo, there are 3 options you can choose from:
- Start from scratch
- Convert a document to a course
- Generate a course from AI
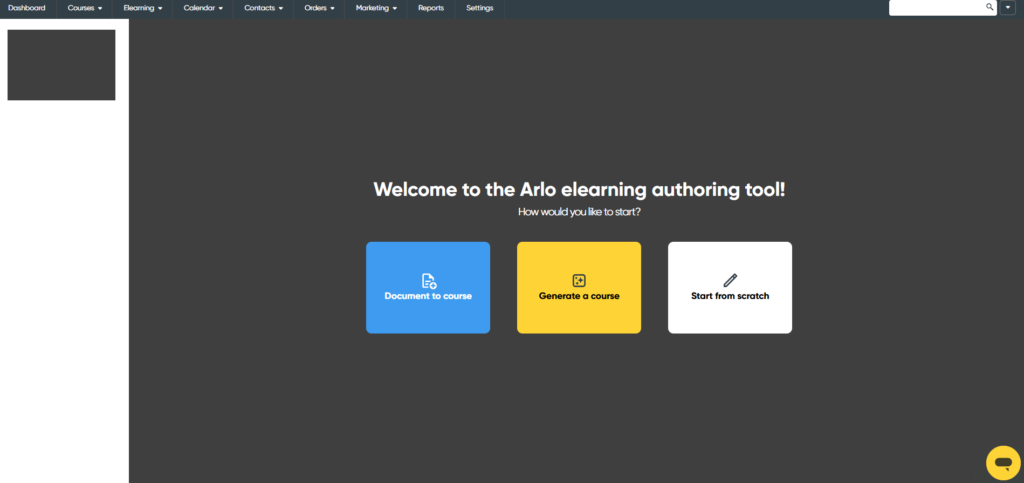
Starting from Scratch
Starting from scratch involves being taken to a blank course builder, where you can make your course exactly how you want it. You can then title your course, and begin adding screens to it, as shown below 👇
Convert a Document to a Course
Converting a document to course, as the name suggests, involves converting an existing training resource you have into interactive microlearning segments.
The function doesn’t convert your document word-for-word, but aims to make the content digestible to learners.
So for example, in the video below I’m taking one of Arlo’s knowledge base articles on using course templates, and turning it into a digestible elearning course that I can then go and edit.
Creating a Course with AI
The third option involves putting a prompt into Arlo’s ‘Generate a Course’ interface. I’ve asked the tool to create a course for a fictional new employee ‘Steven Jones’, that welcomes him to the fictional company ‘Epic Training’. And runs him through the onboarding tasks he’ll be completing on this first day.
Editing Style, Tone, Theme
If you choose either ‘document to course’, or ‘generate a course with AI’ you can choose the style, tone and theme that you want your course to be created with.
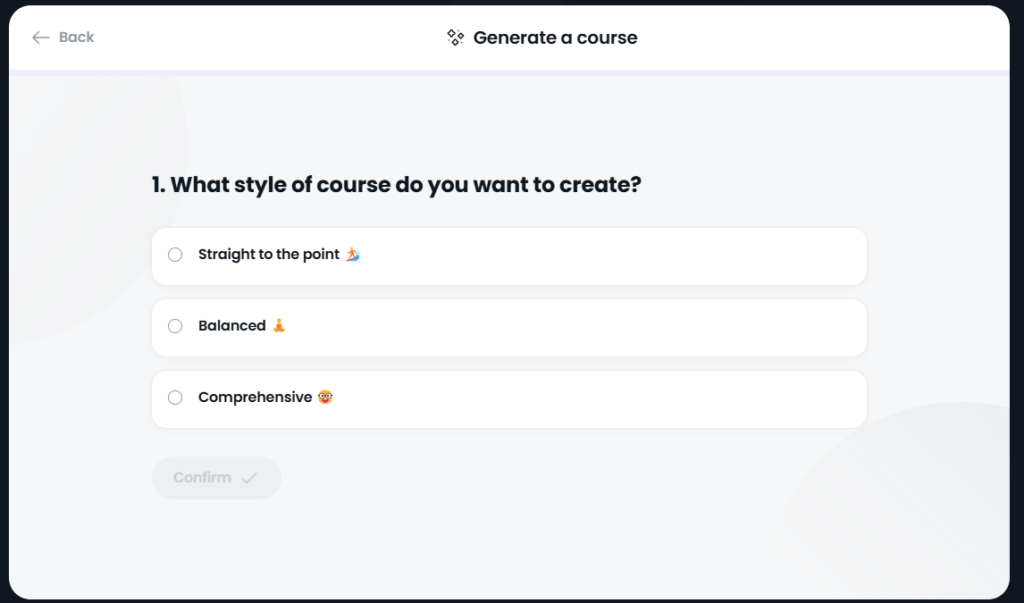
For style your options are:
- Straight to the point – this is the most succinct style of course.
- Balanced – the middle-ground, you’ll have a course that’s not too short, but not too lengthy
- Comprehensive – a more in-depth course.
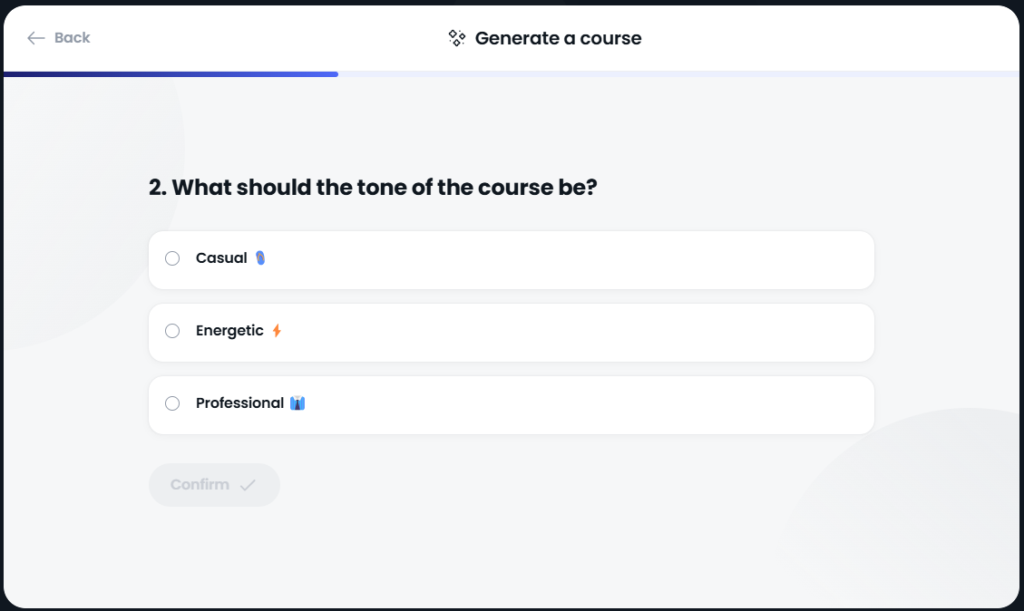
For tone: Casual, Energetic or Professional.
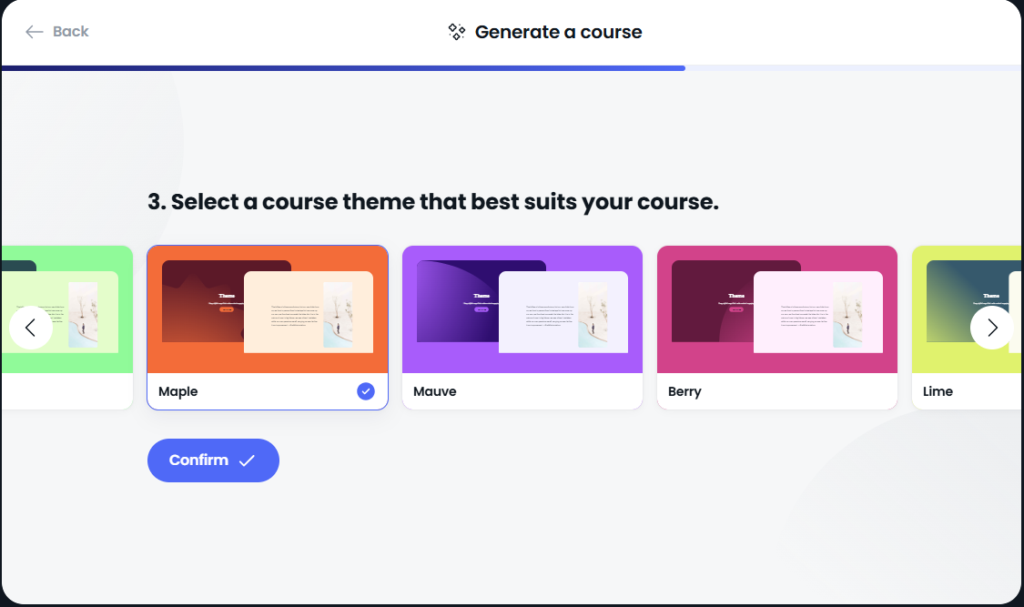
The final step is to choose the theme of your course.
Adding Interactive Elements
There’s a host of interactive elements you can add to a course within Arlo, including: Images, Video, Slideshows, Accordions, Step by Step carousels, Flashcards, Checklists, Hotspot’s and Quizzes.
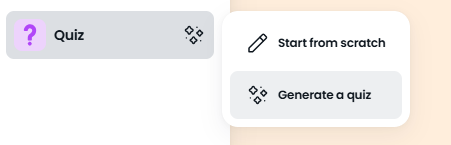
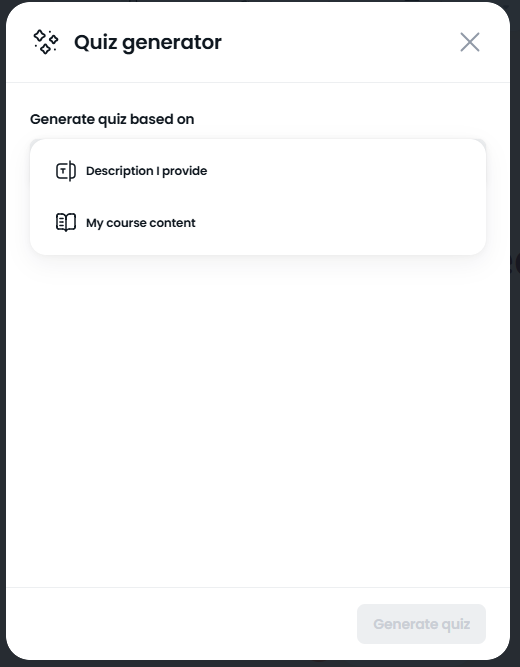
We won’t look at all of them here, but if I take one of the most popular interactive elements—quizzes—you can see I can create a quiz from scratch, or based on the content of my course, or a particular slide using AI.
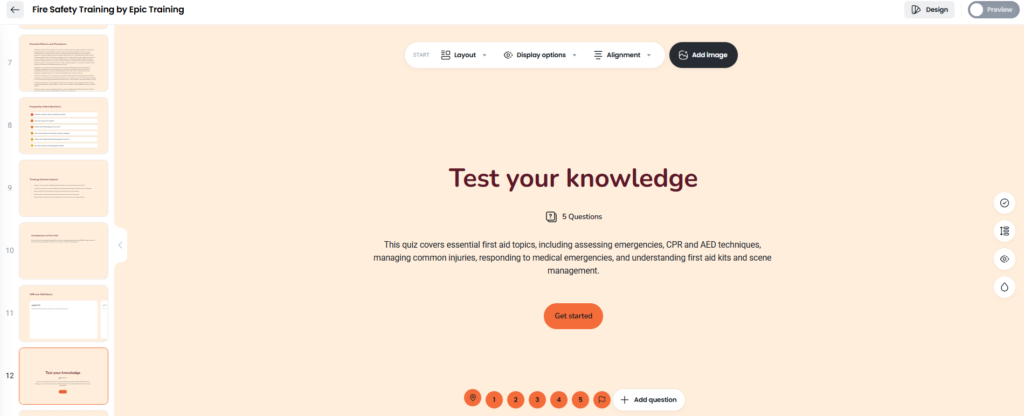
The final result is an interactive quiz that you can edit, until your happy with it to be a part of your course.
I may then want to go and add some other elements such as a Step-by-Step Carousel and some flashcards to make my course more interactive.
The key thing to keep in mind is to make sure that any interactive element you choose to use supports the learning objectives you have set. For example, in this instance, if I wanted to see if learners had understood some of the fire safety essentials covered in the course, then a quiz would be the perfect element to include.
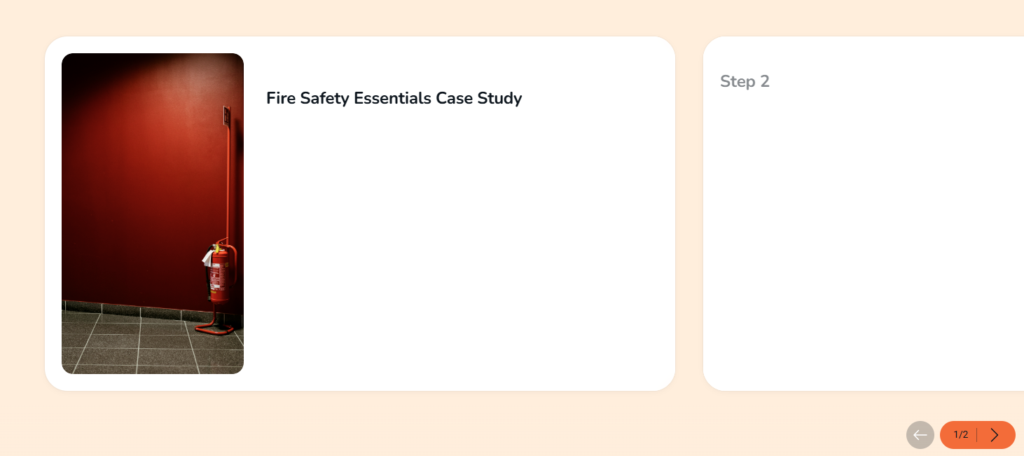
Whereas if I was demonstrating an example with a case study, then using some flashcards might be preferable, as I can insert images into each flashcard and enter a description to showcase what the case study is about.
The End Result
The end result is a elearning training module or course, that’s packed full of interactive elements to keep learners engaged.
Of course, you don’t just need to use Arlo for this, but whichever elearning tool you use the process remains the process I recommend to create interactive training modules remains the same:
✅Define learning objectives
✅Take into account learner backgrounds, levels of knowledge and learning styles
✅Map interactive elements e.g. quizzes, flashcards, video to learning objectives, knowledge and styles
✅Use an elearning authoring tool to make creation process simple and scalable.
If you want to try out Arlo’s authoring features to see exactly how you can do this, get started with a free trial below.